TL;DR
RV slide-outs come in three main flavors — hydraulic ram, Schwintek (rack-and-pinion in the wall), and through-frame cable or screw drives. They each need different care. Most slide problems are preventable with simple habits: keep seals clean and conditioned, lubricate the right components on the right cadence, watch your tongue weight when slides are out, and respect the moment when something stops moving the way it should.
Let's start with an opinion, clearly marked as one. In our experience, slide-outs are the single most common warranty pain point in the modern RV. We've owned three rigs across two slide system types. We've helped friends troubleshoot a half-dozen more. We've watched our Alliance fifth wheel come back from the dealership with a slide that had to be "adjusted" four separate times in year one before it would consistently retract square. We've heard the same story from owners across every brand and every price point. From where we sit, the trade-off — more living space in exchange for a moving wall — is real, and the maintenance cost of that trade-off is higher than the marketing brochures admit.
That's an opinion based on our specific units and the conversations we've had. The mechanical facts of slide-out systems, though, are well-documented and worth learning. Slides aren't black magic. They're motors, gears, rails, hydraulics, and seals. Each piece has known failure modes and known maintenance procedures. The owners who treat slides with the right care experience fewer failures and longer service life. The owners who ignore them get reminded, eventually and expensively.
Know your system
Step one, before any maintenance: identify what kind of slide mechanism you have. The wrong lubrication on the wrong system can do more harm than no lubrication. Three systems dominate the modern market.
Hydraulic slides
Common on larger fifth wheels and high-end coaches. A hydraulic ram (or pair of rams) pushes the slide box out and pulls it back in, powered by a hydraulic pump connected to a reservoir. You'll know you have hydraulics by the visible ram cylinders under the slide box, the hydraulic pump that whines when you operate it, and the fluid reservoir somewhere in a basement compartment.
Hydraulic slides are smooth, powerful, and capable of moving very large slide rooms. Their failure modes tend to be hydraulic — fluid leaks at seals, low fluid level, air in the system, pump motor failures. Maintenance is mostly fluid management and occasional inspection of the rams themselves.
Schwintek (Lippert in-wall)
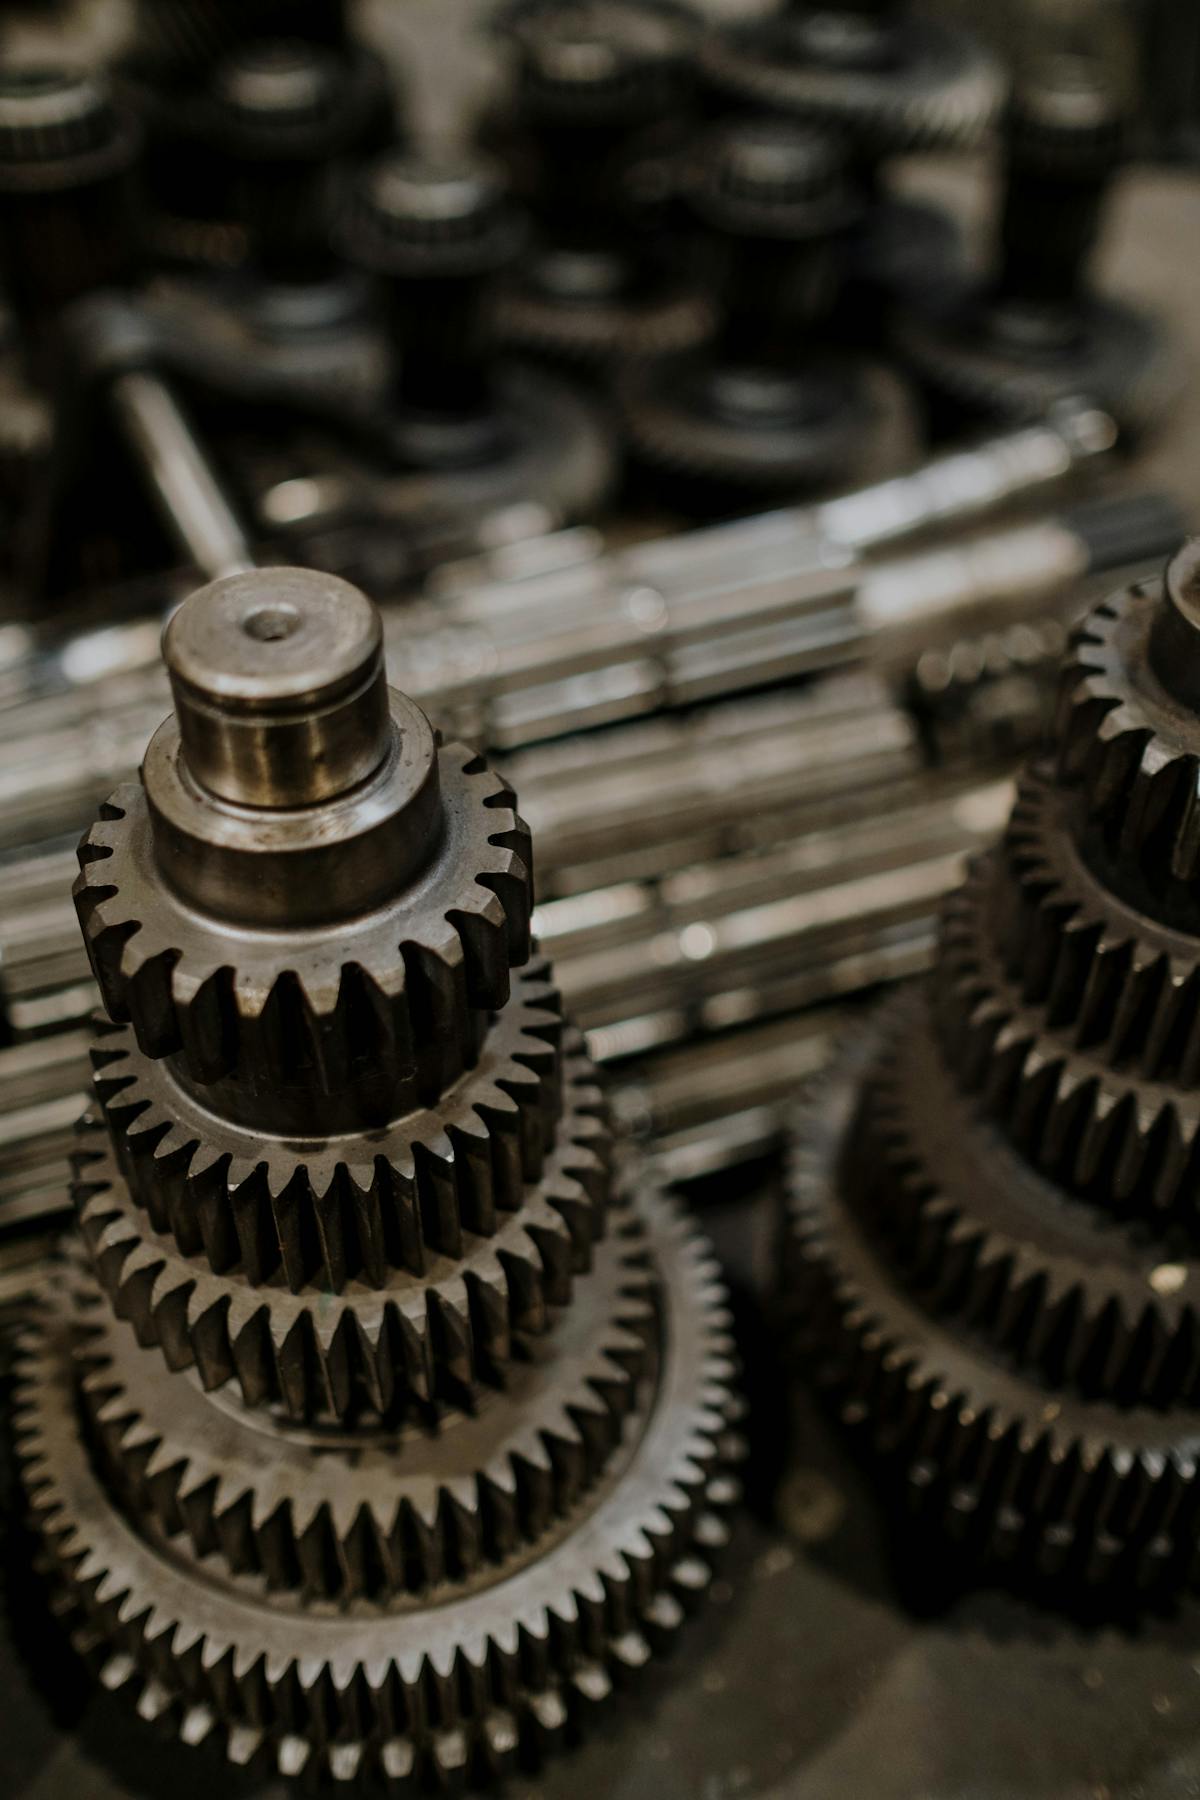
Very common on travel trailers and smaller fifth wheels, especially mid-2010s and later. A Schwintek slide has a vertical rack on each side of the slide opening, driven by motors with rotating gears that walk the slide in and out. The motors live inside the wall cavity at top and bottom. You'll know you have Schwintek if the slide moves on visible toothed rails on each side and the motors hum (rather than whine) when operating.
Schwintek systems are compact and reasonably reliable when properly aligned. Their failure modes are largely about alignment, debris in the racks, and the motors getting overworked when something else is wrong. Maintenance is dry lubrication of the racks (no grease — wrong product here), seal care, and occasional motor inspection.
Through-frame (cable or screw)
Common on larger travel trailers and many fifth wheels. The slide is driven by either a cable system or one or more long screw mechanisms that run through the floor of the rig. Motors and gearboxes drive the screws or cables; the slide rides on tracks or rollers as it moves.
Cable systems use steel cables that need periodic tension adjustment. Screw systems use long threaded rods that need lubrication. Both share similar floor track and roller maintenance.
If you don't know which system you have, look at the slide from below. Visible rams = hydraulic. Vertical toothed rails up the sides of the slide opening = Schwintek. Long threaded rods running under the floor = screw drive. Cables running to a winch-style mechanism = cable system. The owner's manual should also tell you; if not, the brand's customer service can confirm.
The honest version
Lippert (LCI) makes the vast majority of slide mechanisms in the modern RV market. Their service portal at lci1.com has system-specific maintenance documents and exploded parts diagrams. Bookmark it. The factory-level manuals are far more useful than the generic owner's manual that came with your rig.
The lubrication question
This is where most owners go wrong. There is no universal "slide-out lube." There are specific products for specific systems, and using the wrong one creates new problems.
Hydraulic systems
- Check hydraulic fluid level annually. Reservoir should be at the indicated mark with all slides retracted. Use the fluid specified by the manufacturer — not "ATF unless you have a reason" but the actual specified fluid. Common specs are Dexron III for older systems and proprietary hydraulic oils for newer ones.
- Inspect ram seals for weeping. A little moisture is normal; oil pooling is not.
- Lubricate exterior pivot points. Some hydraulic slides have external pivot points on rollers or guide rails. Use a light dry lubricant or grease as the manual specifies.
Schwintek systems
- Use dry silicone or graphite spray on the rack rails. Never grease. Grease attracts dirt and debris, which then grinds in the teeth.
- Wipe excess. A little goes a long way. The rails should look slick, not coated.
- Don't lubricate the motors themselves. They're sealed.
- Inspect rack alignment. The two sides should move evenly. If one side is consistently leading or lagging, the system is fighting itself. That's a tech call.
Cable systems
- Check cable tension annually. Both sides should be equal. Visual inspection for fraying — any fraying means cable replacement.
- Lubricate pulleys. A light grease at the pulley axles.
- Inspect cable attachment points. The eye bolts and brackets that anchor the cables can loosen over time.
Screw systems
- Lubricate the screw rods. Lithium grease, typically. Spread along the threaded portion that engages the drive nut as the slide moves.
- Inspect the drive motor mounts. Vibration over miles can loosen them.
- Wipe accumulated debris from the screws. Bugs, dust, and road grime build up and accelerate wear.
Across all systems: nothing in or on the seals. Seal-specific products only on seals. Slide rail lubricants are for slide rails. Cross-contaminating the seals with the wrong product can soften or harden them. We cover seals next.
Slide seal care
The rubber seals around a slide opening — wiper seals, bulb seals, top seals — are arguably the most important part of the whole system. They're what keep water out, what keep heat in, and what allow the slide to move without grinding. Healthy seals last a decade. Neglected seals fail in three years.
Care is simple and largely about three things:
- Keep them clean. Wipe down with a damp cloth every time you operate the slide. Pine sap, bug residue, dirt — all of it accelerates seal degradation.
- Condition them periodically. A rubber conditioner like 303 Aerospace Protectant or a similar UV-blocking rubber treatment, applied 2–4 times a year. Avoid petroleum-based products and silicone sprays directly on rubber (silicone can be okay sparingly; petroleum is bad).
- Inspect for damage. Tears, cracks, missing chunks, or sections where the seal has separated from its mounting. Small damage is repairable with seal-specific patch products. Large damage requires section replacement.
A few habits we run on our own rig:
- Conditioner application in spring and fall, every year, on every seal.
- Damp-cloth wipe-down whenever we retract a slide that's been out for a few days.
- Slide-topper awning brush-off before retracting if leaves or debris are present.
- Visual inspection for tears every quarter.
Slide toppers — the awnings that cover the top of a slide-out when extended — deserve their own attention. A snapped, frayed, or sagging topper invites water onto the slide top, which finds its way through seals over time. Replace toppers proactively when they show wear; the topper failure is cheap, the water damage that follows is not.
How to operate a slide correctly
A surprising amount of slide grief comes from operator habits. The mechanisms are designed for specific operating conditions. When you deviate, the system pays.
- Operate on level ground when possible. Slides extend most reliably when the rig is level. Severe out-of-level conditions stress the mechanism.
- House batteries fully charged or shore power connected. Slide motors draw heavy current. Marginal batteries lead to slow operation and incomplete extensions.
- Don't operate slides while leveling jacks are still mid-cycle. Different systems have different interlocks; some let you do this and shouldn't.
- Run the slide all the way in or all the way out. Don't stop part-way unless you have to. Slides don't like being parked mid-stroke.
- Listen. Every slide has a sound profile when healthy. If yours starts sounding different — slower, louder, hesitant — that's data. Don't ignore it.
- Inspect before retracting. Walk around the slide and look for anything that might bind (a chair pushed against a wall inside, an awning brace outside, a kid's toy on the floor).
- Hold the button until full stop. Slides have limit switches that stop the motor at the end of travel. Letting up early can leave the slide just shy of fully closed and the seals not seated.
The Alliance slide-out story
Our specific opinion-marker section. We're going to tell this one carefully because the legal-safety bar matters.
In our experience with our specific Alliance fifth wheel, the main living-room slide developed an alignment issue within the first six months. The slide would extend cleanly but retract slightly out-of-square, leaving one corner pulled in farther than the other and the upper seal not fully seated. We documented every occurrence — date, weather, level state, jack position, battery state. We took the rig in under warranty. The dealership adjusted the alignment. It worked for two trips. It came back. They adjusted again. Worked for three trips. Came back. They replaced a motor on one side. Worked for half a season. The fourth visit, they re-shimmed the entire slide opening and it finally held.
In our view, the issue traced to manufacturing tolerances on the slide opening itself rather than to the slide mechanism, which is a frame and box issue more than a motor issue. We can't prove that and we won't claim it as fact. What we can say is that our specific unit was one of the 135 issues documented in year one, and slide-out alignment was responsible for four separate service visits during that year. We've heard similar stories from other Alliance owners, and from owners of many other brands. Slide-out reliability is, from where we sit, a category-wide issue in the modern RV industry rather than a single-brand issue.
The lesson for an owner: when a slide misbehaves, document it. Every time. Date, conditions, what happened, what you did. The dealership will be more likely to actually fix the underlying problem rather than adjusting the symptom if you can show a pattern. We have a whole post on building a defect log that makes manufacturers take you seriously, and slide-out problems are exhibit A for why that habit matters.
When to stop and call a tech
We're DIY-leaning and we still call techs for the following slide-out situations:
- The slide won't move at all. Could be motor, controller, fuse, low voltage, hydraulics, alignment. Diagnostic territory.
- The slide is moving but binding audibly. Don't force it. Force breaks gears, snaps cables, or rips seals.
- The slide goes out fine but won't retract. Often electrical or limit-switch related. Tech.
- Visible mechanical damage. A bent rail, a snapped cable, a torn-loose mounting bracket — out of DIY scope.
- Hydraulic fluid leaking. The seal-replacement procedure requires depressurizing the system safely and reassembling without contaminating the fluid. Tech.
- Anything you don't fully understand. Slides have killed people. The amount of force in these systems is enormous. Stand clear of a slide that's misbehaving and call someone qualified.
The NRVIA and RV Technical Institute directories are good starting points. Lippert also runs a network of factory-trained service centers if you can find one nearby — for Schwintek and other LCI-built systems, factory-trained techs often diagnose much faster than generalist shops.
Pre-trip slide checklist
Before you hitch up:
- Slides fully retracted.
- Slide seals fully seated and visually clean.
- Slide locks engaged (if your unit has manual locks).
- Slide topper awnings retracted and properly stowed.
- Nothing inside the rig is touching or resting against an interior wall in the slide path.
- Slide button has been held for the full stop, not feathered.
Forgetting any of these has cost real owners real money. The "drove off with the slide partially out" story is a category of RV disaster you do not want to join.
Storage prep for slides
If the rig is going into storage for more than a few weeks, a couple extra steps help.
- Store with slides retracted. Always. Extended slides in storage put more load on the mechanism over time and expose more rubber and topper material to UV.
- Apply seal conditioner before close-up. The seals will be in storage compressed against the slide box; a conditioned seal handles that better than a dry one.
- For long storage, briefly run the slides every month or two. Not for full extension if it's cold or the rig is wrapped — but enough to keep seals from setting and mechanisms from gumming up.
- Inspect after coming out of storage. The first extension after winter is when you find the things that broke.
When you're shopping: slide-out red flags
If you're buying used or doing a pre-purchase inspection, look at the slides hard. Things we look for:
- Cycle the slide all the way in and all the way out at least twice. Listen.
- Check the seals all the way around the slide opening, both with the slide in and with it out.
- Look for water staining on the carpet or flooring near the slide-out interior edges — a tell that a seal has been leaking.
- Look at the slide topper, if equipped, for tears or sag.
- Inspect the slide mechanism from below or from inside a basement compartment.
- Ask the seller (or dealer) for any service history on the slide. Multiple service visits for slide work is a yellow flag, not necessarily a red flag — but it's worth asking what was done and whether the root cause was identified.
We routinely turn up slide-related issues during pre-purchase consultations that the dealer "didn't notice." Slides are the single most common deal-breaker we find on used units.
What this means for you
Identify your slide system. Read the manufacturer's maintenance guidance (Lippert's portal is the most likely starting point). Use the right products on the right components. Don't grease what should be dry. Don't condition seals with petroleum. Operate slides on level ground with good power. Listen to what the system is telling you, and document anything that's not quite right. Call a tech earlier than you think you should — the failures get expensive fast.
Slides are the part of an RV that delivers the most "wow" on day one and the most "ugh" by year three. The owners who avoid the year-three story are the ones who treat slides with the respect their mechanism deserves.
Good Luck Out There!